Lighting is one of the most crucial aspects of filmmaking. It not only illuminates the scene but also sets the mood, creates depth, and guides the audience’s attention. Understanding and mastering various lighting techniques can significantly enhance the visual storytelling of your films. This guide covers essential lighting setups and how to use them effectively in various shooting scenarios.
1. The Importance of Lighting in Filmmaking
Why Lighting Matters
Lighting serves multiple purposes in filmmaking:
- Visibility: Ensures subjects and scenes are clearly visible.
- Mood and Atmosphere: Sets the emotional tone of a scene.
- Depth and Dimension: Adds depth to a two-dimensional medium.
- Focus: Directs the audience’s attention to important elements.
Basic Lighting Terminology
- Key Light: The primary source of light, providing the dominant illumination.
- Fill Light: Fills in the shadows created by the key light, reducing contrast.
- Back Light: Separates the subject from the background, adding depth.
- Hard Light: Produces sharp, well-defined shadows.
- Soft Light: Creates diffused shadows and a softer look.
- Color Temperature: Measured in Kelvin (K), indicates the color of the light. Daylight is around 5600K, while tungsten light is around 3200K.
2. Basic Lighting Setups
Three-Point Lighting
Three-point lighting is a fundamental setup used to create a well-balanced scene. It consists of three lights:
- Key Light: Positioned at a 45-degree angle from the camera, this is the main source of illumination.
- Fill Light: Placed on the opposite side of the key light, it softens shadows and reduces contrast.
- Back Light: Positioned behind the subject, it helps to separate the subject from the background.
Rembrandt Lighting
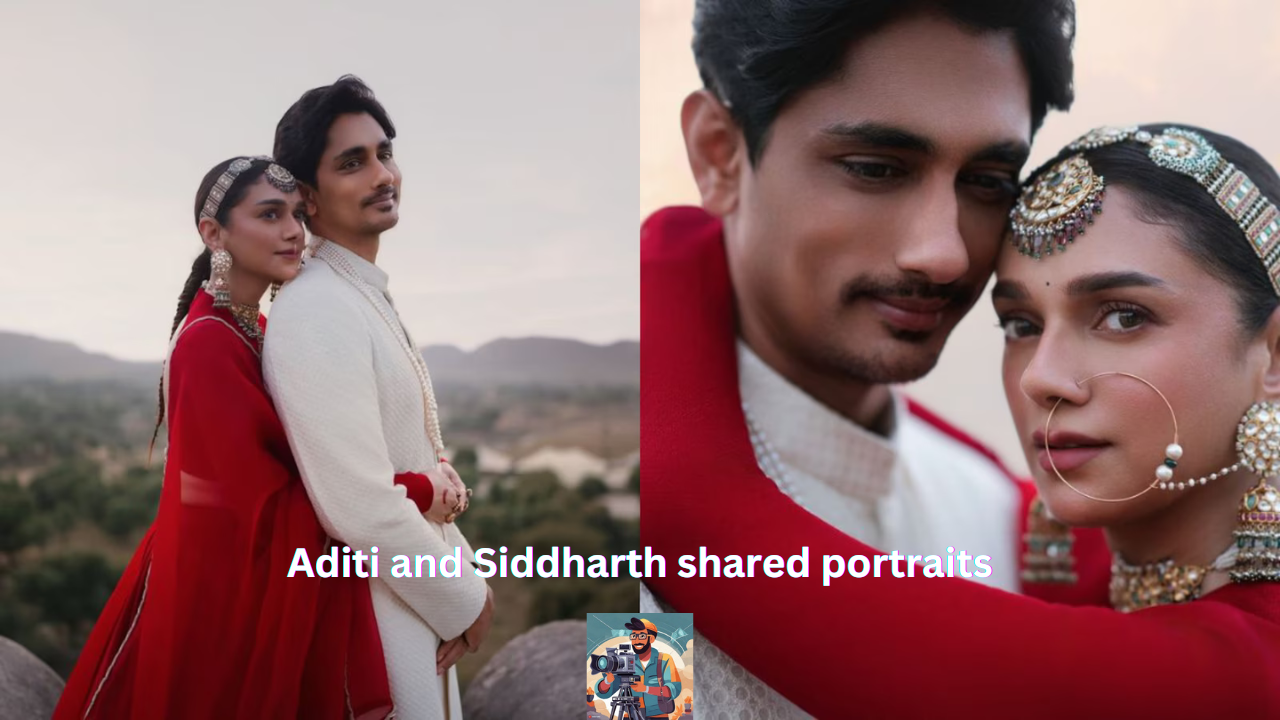
Named after the painter Rembrandt, this technique creates a small triangle of light on the shadowed cheek of the subject. It adds a dramatic and classic look to portraits.
- Setup: Position the key light at a 45-degree angle to the side and above the subject’s face. Adjust until you see the characteristic triangle of light.
Butterfly Lighting
Also known as Paramount lighting, this technique creates a butterfly-shaped shadow under the subject’s nose. It is flattering for facial features and often used in glamour shots.
- Setup: Place the key light directly in front of and above the subject, pointing down at a 45-degree angle.
Loop Lighting
Loop lighting creates a small shadow of the subject’s nose that loops down to the side. It is a versatile and commonly used setup for portraits.
- Setup: Position the key light slightly above and to the side of the subject’s face, just off-center.
Split Lighting
Split lighting divides the subject’s face into equal halves, with one side in light and the other in shadow. It adds a dramatic and edgy look.
- Setup: Place the key light 90 degrees to the side of the subject, so one side is illuminated, and the other is in shadow.
3. Advanced Lighting Techniques
High-Key Lighting
High-key lighting is characterized by low contrast and soft shadows, creating a bright and airy look. It is often used in comedies, musicals, and commercial shoots.
-
- Setup: Use multiple light sources or large diffused lights to reduce shadows and create even illumination across the scene.
Low-Key Lighting
Low-key lighting features high contrast with deep shadows, producing a dramatic and moody atmosphere. It is commonly used in horror, thriller, and noir genres.
- Setup: Use a strong key light with minimal fill light, and position the lights to create deep shadows and strong contrasts.
Practical Lighting
Practical lighting incorporates visible light sources within the scene, such as lamps, candles, or computer screens. These sources can add realism and atmosphere to the setting.
- Setup: Use actual light fixtures in the scene as part of your lighting design. Supplement with additional lights if necessary to ensure proper exposure.
Motivated Lighting
Motivated lighting simulates natural light sources to create a realistic look. For example, if a scene is set near a window, the lighting setup mimics sunlight streaming through the window.
- Setup: Identify the supposed light source within the scene and place your lights to replicate that direction and quality.
4. Lighting for Different Shooting Scenarios
Interior Scenes
When shooting indoors, control over lighting is essential. Use softboxes, umbrellas, and diffusers to create soft, even lighting. Pay attention to practical lights and consider using gels to match color temperatures.
Exterior Day Scenes
Natural sunlight is your primary light source outdoors. Use reflectors to bounce light and fill shadows. For more control, consider using scrims to diffuse harsh sunlight and create a softer look.
Exterior Night Scenes
Shooting at night requires additional lighting equipment. Use portable lights, battery-powered LEDs, and practical lights to illuminate your scene. Pay attention to color temperatures to maintain consistency.
Green Screen Lighting
Proper lighting is crucial for green screen work. Ensure even illumination on the green screen to avoid shadows and color inconsistencies. Use separate lights for the subject to prevent green spill and achieve clean keying.
Close-Up Shots
Close-ups require careful attention to detail. Use soft, diffused lighting to flatter facial features and reduce harsh shadows. Position lights to highlight the subject’s eyes and create catchlights.
5. Tips for Effective Lighting
Light Shaping Tools
- Diffusers: Soften harsh light and create a more flattering look.
- Reflectors: Bounce light into shadowed areas to fill in shadows.
- Flags: Block light to create shadows or prevent spill.
- Gels: Change the color temperature of your lights to match the scene’s needs.
Lighting Ratios
Understand lighting ratios to control contrast in your scenes. A common ratio is 2:1, where the key light is twice as bright as the fill light. Adjust ratios to achieve the desired look.
Color Temperature
Maintain consistent color temperatures to avoid mismatched lighting. Use gels or adjust the white balance on your camera to match the color temperatures of your light sources.
Practical Effects
Use practical effects like smoke, haze, or fog to add texture and depth to your lighting. These elements can enhance the mood and atmosphere of your scenes.
Experiment and Adapt
Lighting is both a science and an art. Experiment with different setups, angles, and tools to find what works best for your specific scene and style. Adapt to the unique challenges of each shooting scenario.
Conclusion
Mastering lighting techniques is essential for any filmmaker looking to create visually compelling films. From basic setups like three-point lighting to advanced techniques like motivated lighting, understanding how to use light effectively can dramatically improve the quality of your work. Remember, practice and experimentation are key to discovering your unique lighting style. Happy filming!


