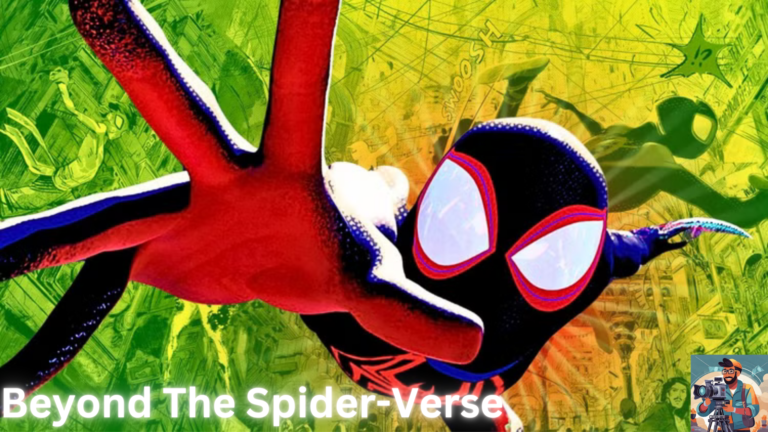
Every shot in a film tells a unique story. Some shots simply show a location, while others immerse you in the emotions of the characters. The best filmmakers understand how to use these different shots to convey meaning and emotion, shaping the way the audience experiences the narrative. In this article, we will break down the key types of cinematic shots, explaining their purpose and how they can affect the overall storytelling of your film.
1. Establishing Shot
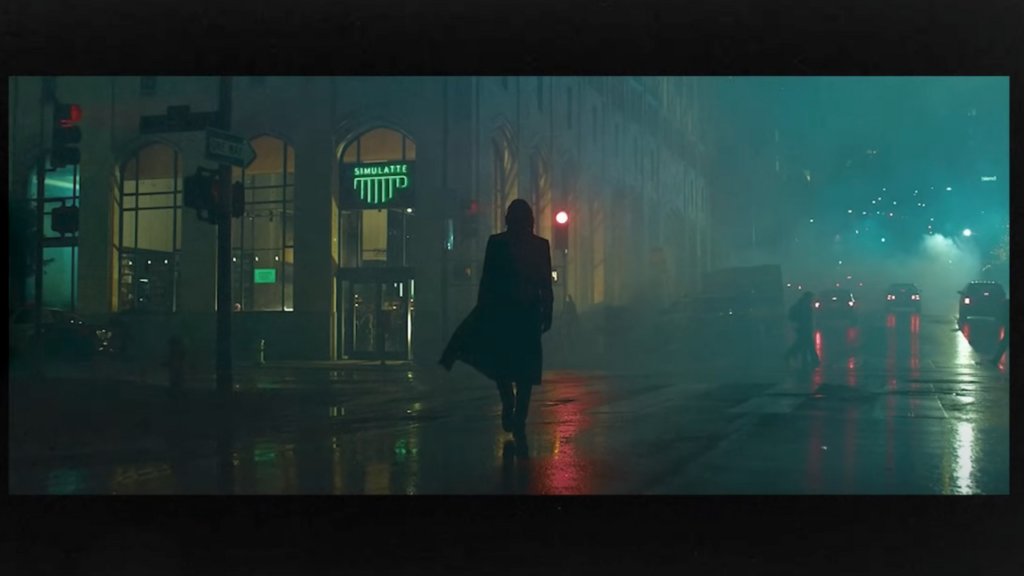
The establishing shot is one of the most common ways to set the stage for a scene. Typically used at the beginning of a sequence, this wide shot helps to establish the environment or location where the action will take place. This shot could be anything from a sweeping drone shot of a city to a simple static shot of a building. The primary purpose of an establishing shot is to orient the audience to the setting and give context to the scene.
When to use:
- At the beginning or end of a scene.
- To transition between different locations.
- To set the tone for the environment or situation.
2. Wide Shot
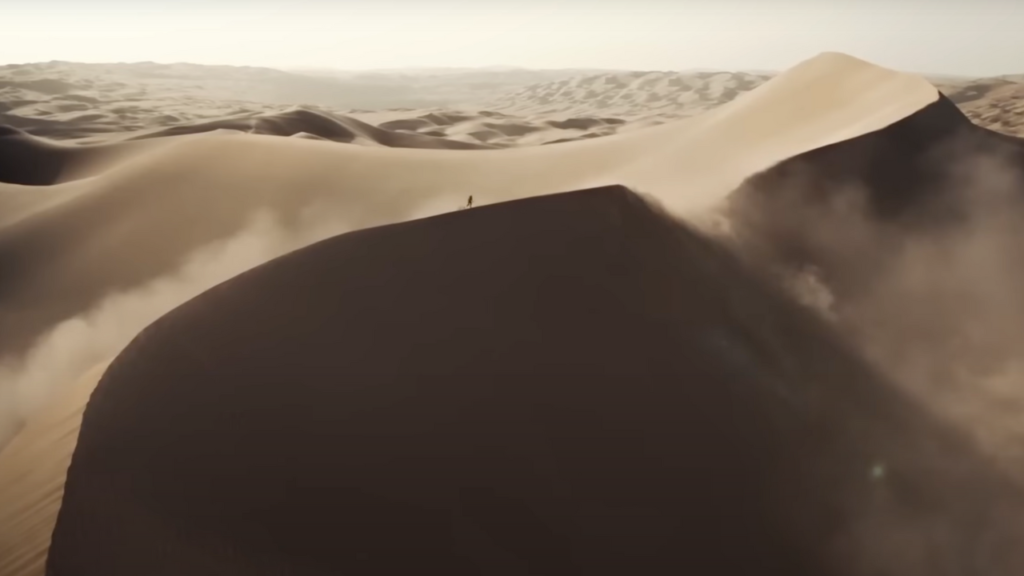
The wide shot is often captured with a wide-angle lens and serves to highlight a subject’s surroundings. It’s perfect for showing multiple characters interacting in a space, and it’s also effective for demonstrating scale, especially if the environment feels vast in comparison to the character. Wide shots are often used to emphasize isolation or the loneliness of a character in an expansive setting.
When to use:
- To show large spaces or environments.
- To depict isolation or vulnerability.
- When you want to show several characters in the frame interacting.
3. Full Shot
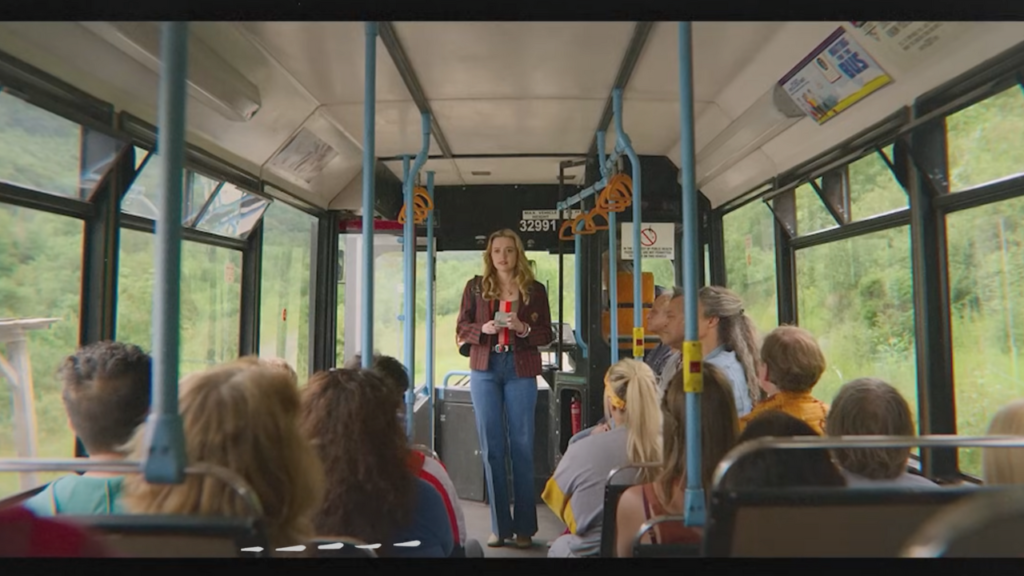
A full shot typically captures the subject’s entire body, from head to toe. This shot provides a clear view of the character’s body language and how they interact with their environment. While similar to the wide shot, the full shot is more focused on the character rather than the surroundings.
When to use:
- To focus on a character’s full body language.
- To showcase how a character interacts with their environment.
4. Cowboy Shot
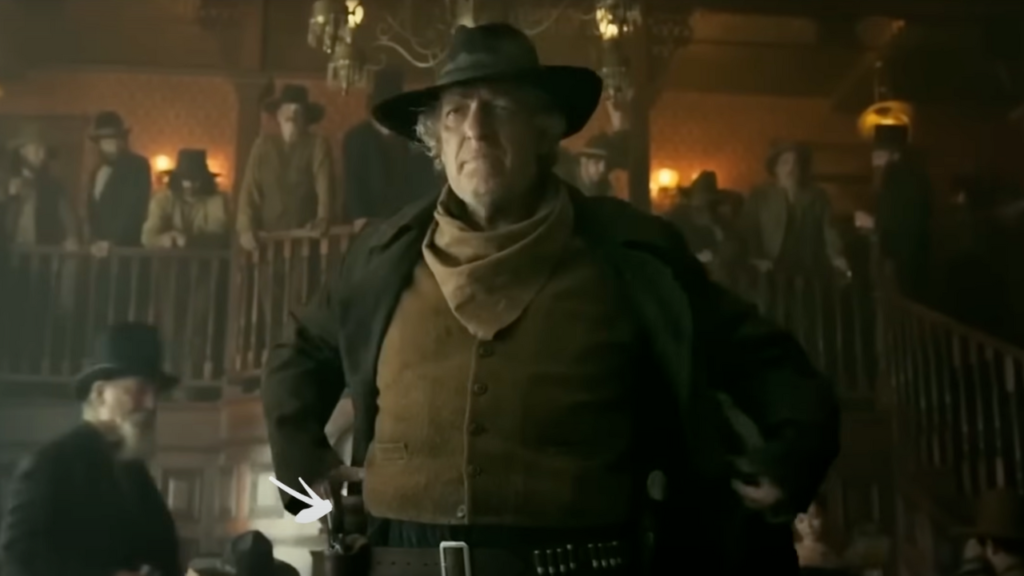
A cowboy shot is named for its frequent use in Western films, where it’s used to show a character from the waist up, often to highlight the holster of a gun. This shot allows the filmmaker to focus on the character’s upper body, adding a sense of drama and tension, especially when depicting confrontational or action-packed moments.
When to use:
- To show a character in a dramatic or action-heavy scene.
- Often used in Westerns or action films to emphasize a weapon or confrontation.
5. Medium Shot
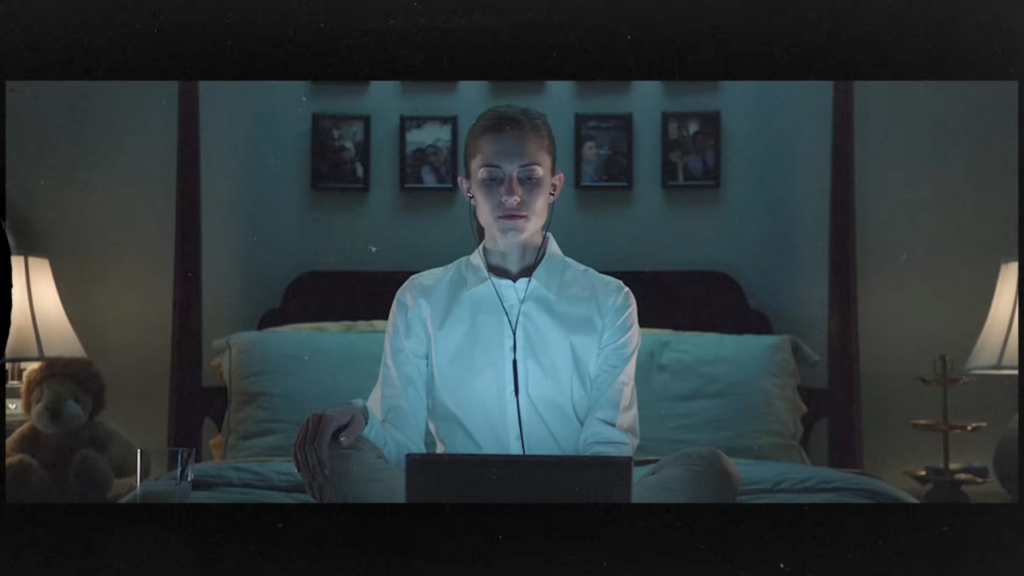
The medium shot frames the subject from the waist up, making it one of the most versatile shots in filmmaking. It’s great for focusing on dialogue between characters, capturing body language, and showing interactions in a scene. The medium shot makes the audience feel closer to the character, drawing attention to both their expressions and actions.
When to use:
- For dialogue-heavy scenes.
- When you want to focus on the subject’s actions or expressions.
- To make the audience feel closer to the subject.
6. Medium Close-Up
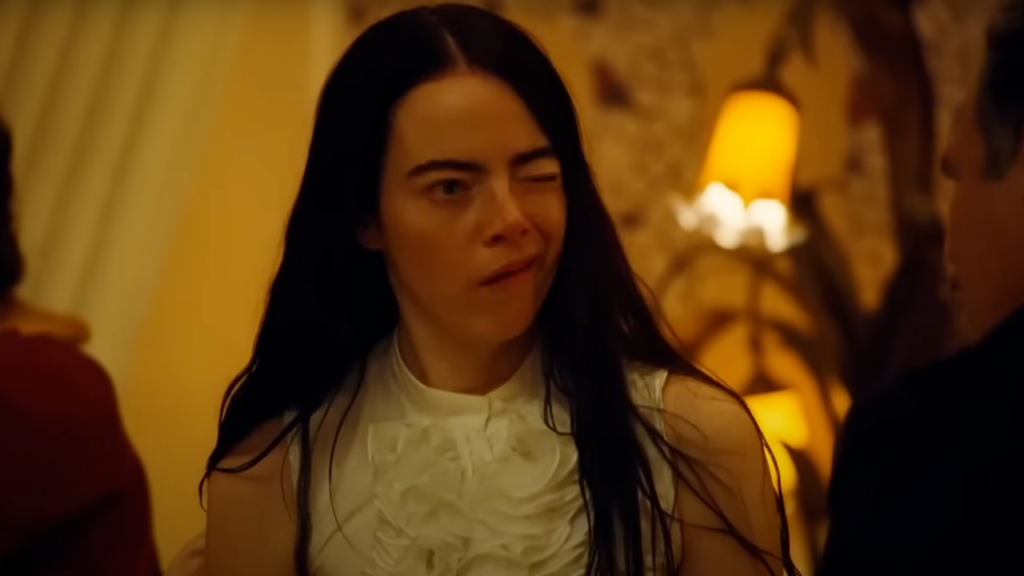
A medium close-up is typically from the chest up and is great for adding a sense of intimacy while still allowing for some background information. It’s often used in conversations or scenes that require more emotional depth, providing a close enough view of the character’s face to capture subtle expressions while still leaving room for some body language.
When to use:
- For intimate or emotional conversations.
- When you want to focus more on the character’s face and expressions.
7. Close-Up and Extreme Close-Up
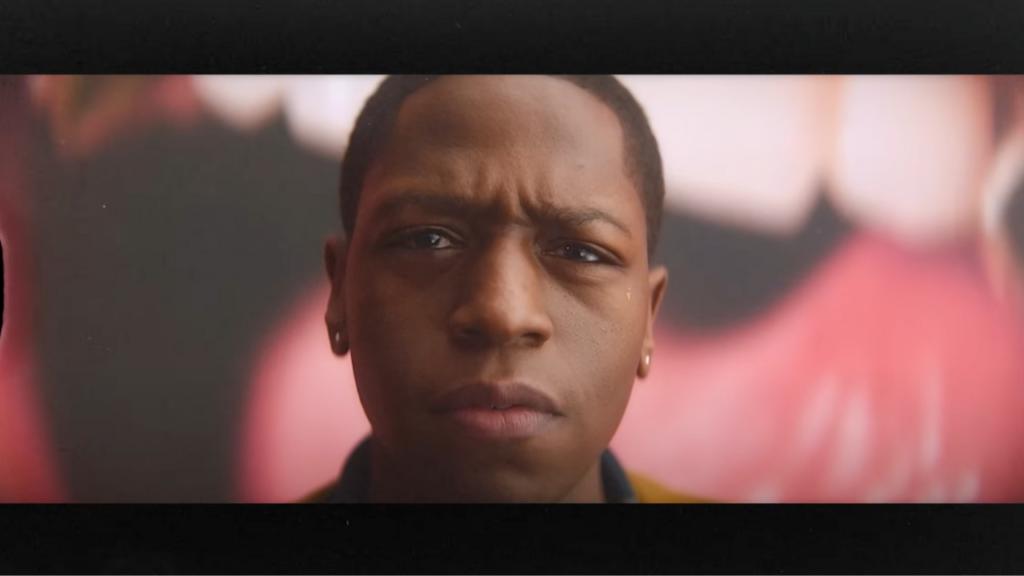
The close-up shot focuses on a character’s face, typically from the chin to the top of the head. This shot is often used to capture emotions and reactions in great detail. An extreme close-up, on the other hand, focuses on even smaller details, such as just the eyes or hands. These shots are often used to create tension, draw attention to important details, or emphasize a character’s emotional state.
When to use:
- For dramatic moments or to emphasize emotional reactions.
- To highlight specific details or objects that are crucial to the story.
8. Two-Shot, Three-Shot, and Group Shot
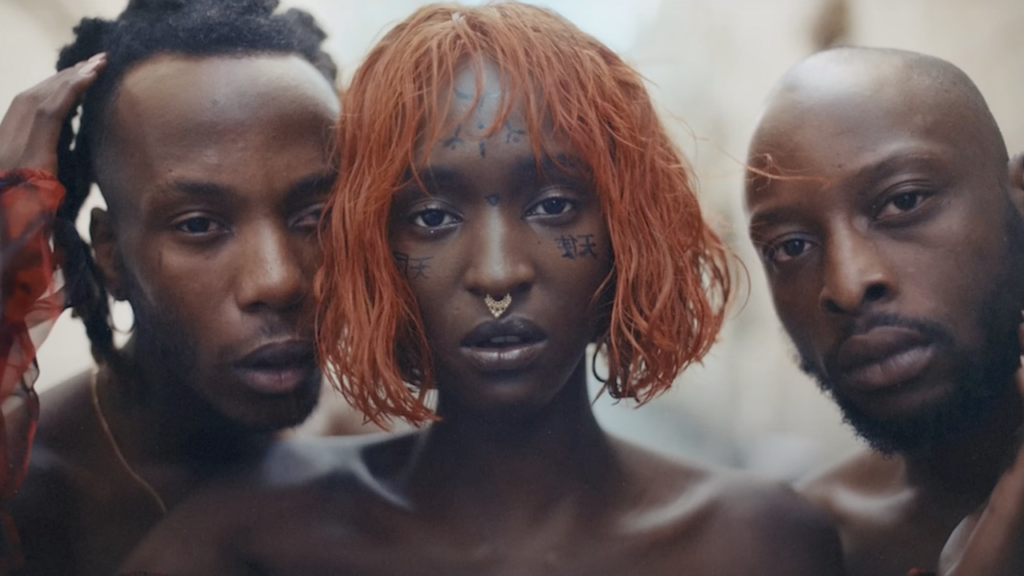
The two-shot is simply a shot featuring two people, while the three-shot features three people. The group shot is used when there are several characters in the frame. These shots are important for showing relationships and interactions among multiple characters.
When to use:
- To show relationships or interactions between characters.
- In group scenes to capture the dynamics between multiple characters.
9. Over-the-Shoulder (OTS) Shot
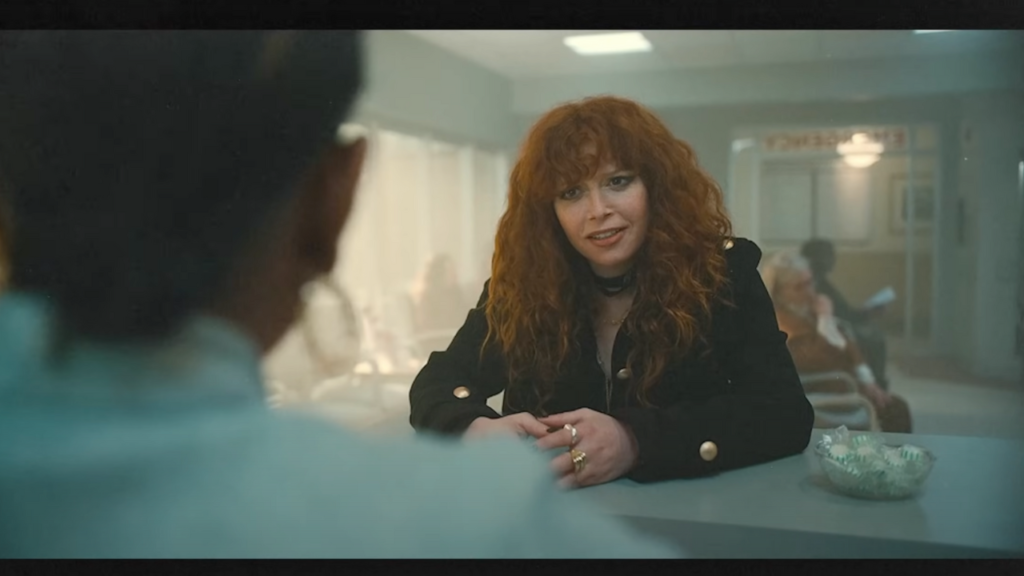
The over-the-shoulder (OTS) shot is a classic way to film conversations. This shot captures a subject from behind one character’s shoulder, often focusing on the other person in the conversation. It creates a sense of perspective and intimacy, making the audience feel as though they are part of the conversation.
When to use:
- During dialogue scenes to create intimacy and perspective.
- To show the dynamic between two characters in conversation.
10. Point-of-View (POV) Shot
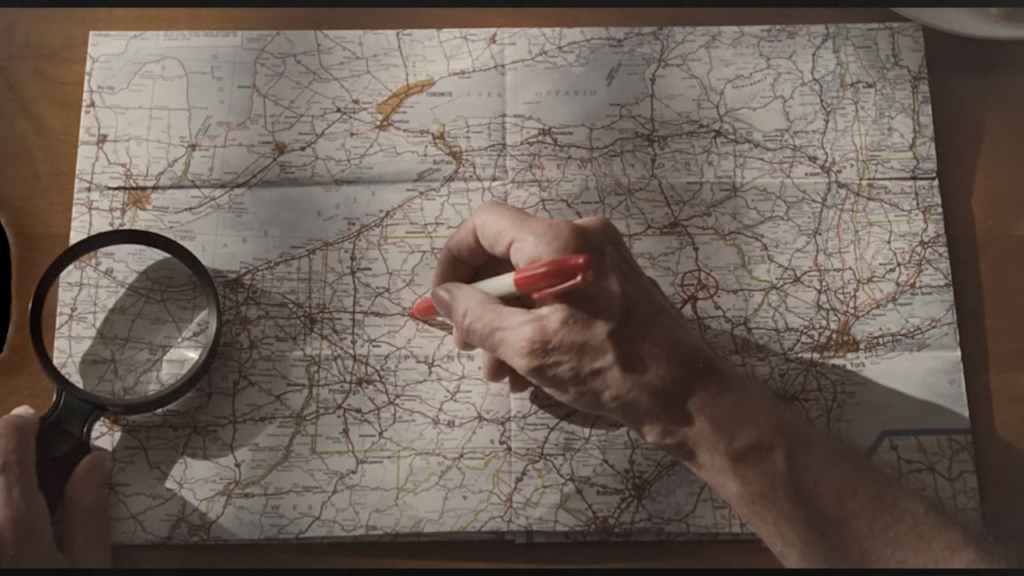
The point-of-view (POV) shot allows the audience to see the scene from a character’s perspective. This shot is useful for immersing the audience in the character’s experiences, making them feel as though they are seeing the world through the character’s eyes.
When to use:
- To immerse the audience in the character’s experience.
- When you want to show a character’s perspective on the world or an event.
11. Dutch Angle
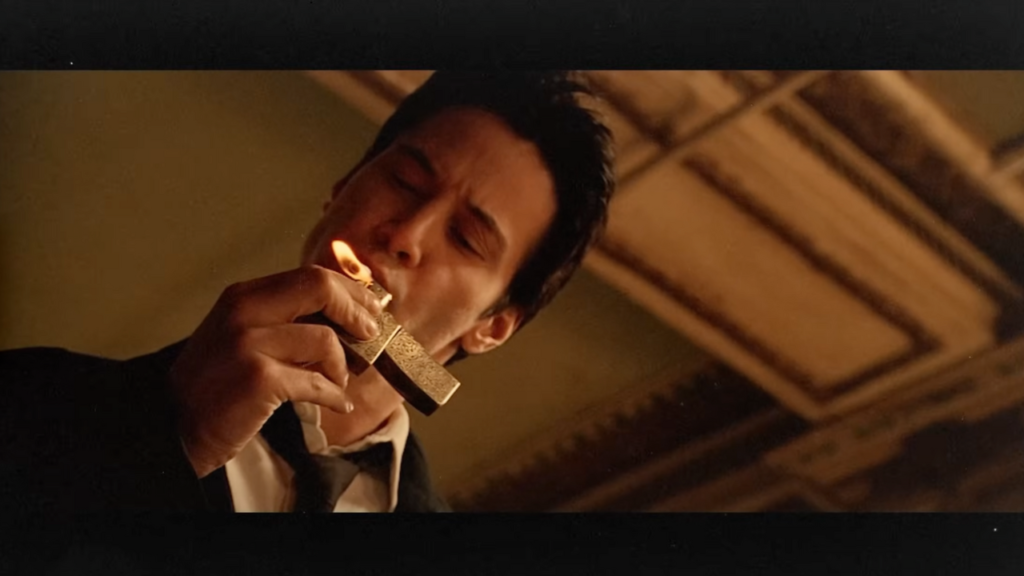
The Dutch angle, also known as a canted angle or tilted shot, involves tilting the camera on its axis to create a sense of unease or disorientation. This shot is commonly used to suggest that something is off-kilter or wrong in the scene, often foreshadowing something dramatic or unsettling.
When to use:
- To create a sense of unease or tension.
- In scenes where something feels off, disorienting, or when the character is disoriented.
12. Low Angle Shot
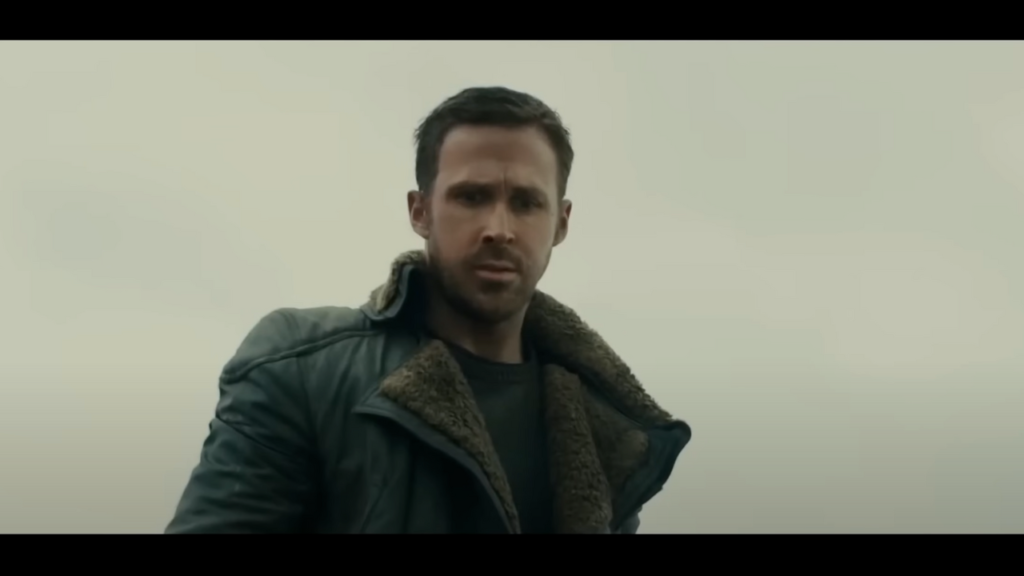
A low-angle shot is filmed from below the subject, often making the subject appear larger, more dominant, or more powerful. This shot can convey authority or emphasize the importance of the subject in the scene.
When to use:
- To make a character appear powerful or dominant.
- To show a sense of awe, wonder, or respect.
13. High Angle Shot
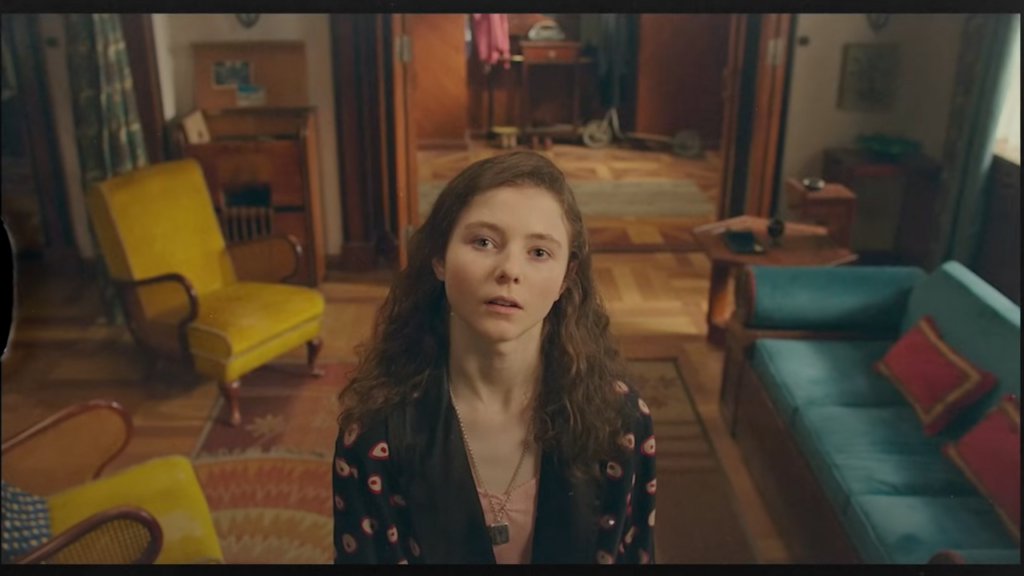
The high-angle shot is filmed from above the subject, making the character appear smaller or more vulnerable. This shot is often used to convey weakness, fear, or powerlessness.
When to use:
- To show vulnerability, weakness, or inferiority.
- To depict a character’s emotional or physical distress.
Conclusion
Each cinematic shot has its own unique purpose and impact on storytelling. Understanding how and when to use these shots can elevate your filmmaking, creating powerful emotional responses and making your narrative more immersive. Whether you’re showing the vastness of a location with a wide shot or diving deep into a character’s emotions with a close-up, these shots help communicate complex ideas and emotions in a way that words alone cannot.
By mastering the use of various shots, you can add depth, drama, and visual interest to your film, making every frame count in telling your story.

